

Every Sunday I would cook a big batch of chicken breast for the week. And every Sunday the result was the same: dry, rubbery, flavourless slices that I forced myself to eat because protein is important.
I tried cooking it slower. Still dry. I tried covering it with foil. Still dry. I tried adding butter on top. Still dry, just with greasy butter on top.
The actual problem was two things happening at the same time. First, I was never brining the chicken, which meant the muscle proteins had nothing helping them hold onto moisture during cooking. Second, I was checking doneness by cutting into it, which released all the juice before it had a chance to redistribute. By the time I served it, the juice was on the cutting board instead of inside the chicken.
This Chicken Breast Recipe fixes both. A 15-minute quick brine that requires no special equipment. High heat that cooks it fast before moisture has time to evaporate. And a proper rest that keeps every drop of juice inside the meat until the knife goes in.
Twenty-five minutes. Actually juicy. Let’s make it.
Why This Is the Best Chicken Breast Recipe
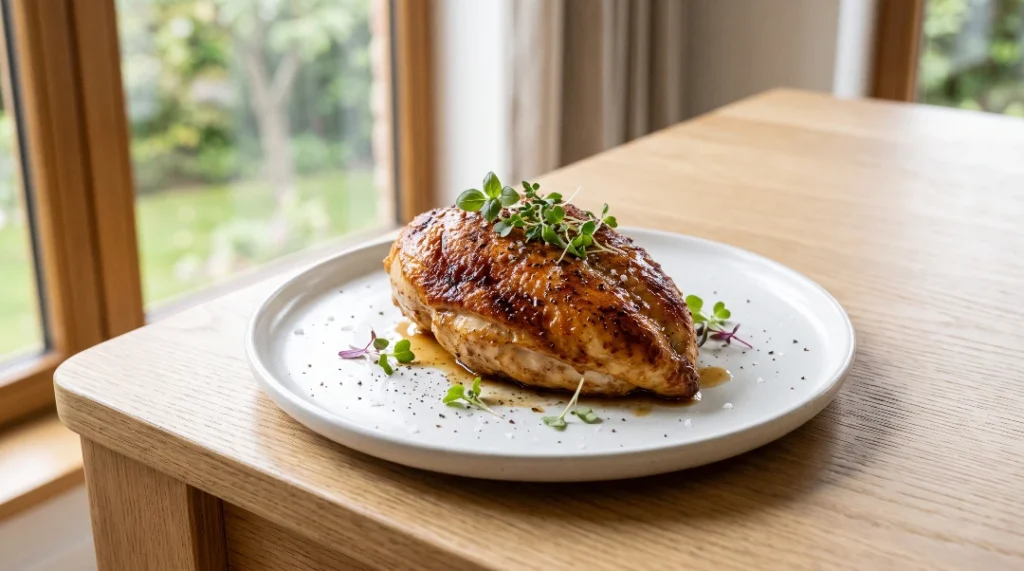
The quick brine takes 15 minutes and makes a bigger difference than any seasoning blend ever could. It works by drawing moisture into the muscle fibers themselves before cooking even starts, so the chicken has more to lose and still comes out juicy at the end.
High heat, not low and slow. The faster chicken breast cooks, the less time moisture has to escape as steam. A 425°F oven or a hot skillet cooks a properly pounded breast in 18 to 22 minutes. A 325°F oven takes 40 minutes and loses far more moisture along the way.
Three methods covered properly. Oven, skillet, and air fryer, each explained with exact times and temperatures rather than vague ranges.
The thermometer replaces guesswork entirely. No more cutting into the chicken to check if it is done and watching the juice pour out. A meat thermometer tells you exactly when to stop cooking without releasing a single drop.
A Quick History – Why Chicken Breast Became America’s Most Eaten Protein
Chicken breast overtook red meat as the most consumed protein in America during the 1990s, driven by growing interest in lower-fat diets and the convenience of boneless, skinless cuts that cook quickly and adapt to almost any cuisine. According to USDA FoodData nutritional data for raw chicken breast, a 100-gram serving of boneless skinless chicken breast contains roughly 31 grams of protein and only 3.6 grams of fat, making it one of the leanest complete protein sources available.
The irony is that the very quality that makes chicken breast nutritionally desirable, its extremely low fat content, is also what makes it so difficult to cook well. Fat carries flavor and retains moisture during cooking. Without it, chicken breast requires precise technique to produce something juicy rather than dry.
Why Chicken Breast Dries Out and How to Stop It
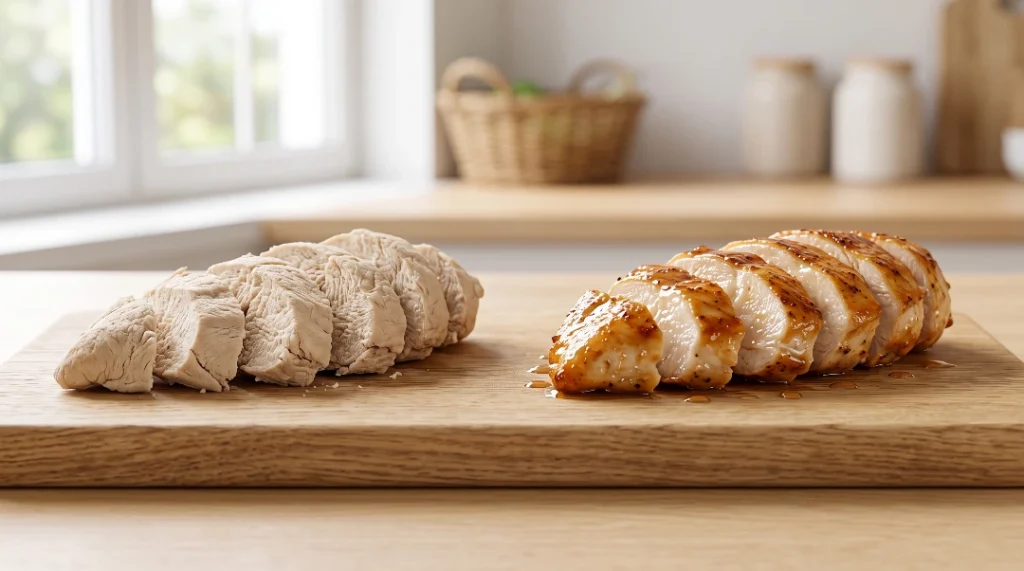
Here is what is actually happening when chicken breast goes wrong, explained in plain terms.
Why chicken breast dries out faster than thighs. Chicken breast is almost pure muscle fiber with very little fat running through it. When heat hits those muscle fibers, they contract and tighten, squeezing out the moisture they were holding. Chicken thighs have fat distributed throughout the meat, which melts during cooking and keeps the meat moist even as the proteins tighten. Chicken breast has no such safety net, which is why technique matters so much more with breast than with any other cut.
Why brining keeps chicken juicy. When chicken sits in salted water, a process called osmosis pulls the salt water solution into the muscle fibers. As the salt penetrates the meat, it partially denatures the proteins in a way that helps them hold onto moisture more effectively during cooking. A brined chicken breast can lose the same amount of surface moisture during cooking as an unbrined one, but the moisture retained inside the muscle fibers stays noticeably higher. Even 15 minutes of brining makes a measurable difference. Overnight brining makes a dramatic one.
Why pounding to even thickness matters. An unpounded chicken breast is thick in the middle and thin at the tapered end. In the oven or skillet, the thin end reaches safe temperature and starts drying out before the thick center is even close to done. By the time the center is cooked through, the edges are overdone and tough. Pounding the breast to an even thickness of about three-quarters of an inch means the entire piece reaches safe temperature at the same time, with no part overcooked before another part catches up.
Why the rest makes the biggest difference. When chicken cooks, the heat pushes moisture toward the center of the breast as the outer fibers tighten. If you cut into it immediately after cooking, that centralized moisture pours out onto the cutting board. If you rest the chicken for 5 minutes before cutting, those outer fibers have time to relax and the moisture redistributes back throughout the entire breast. The same science is why we rest a steak after cooking, as covered in our Pan-Seared Steak Recipe. Same principle, same result: a juicier piece of meat from the exact same cook.
Why the right temperature matters. The FDA recommends cooking chicken to a safe minimum of 165°F to ensure food safety. Pulling the chicken from heat at 160°F and resting it for 5 minutes, during which carryover cooking raises it the final 5 degrees, achieves the same result with slightly juicier meat. Both approaches are safe when done correctly. Always verify with a meat thermometer rather than relying on color or time alone.
What You Need
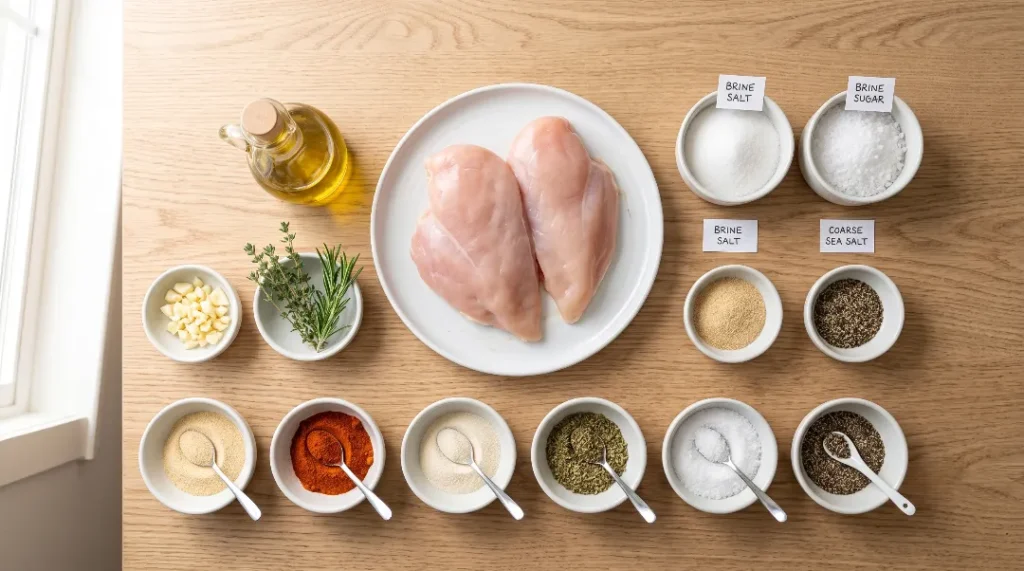
For the Quick Brine
- 2 cups (480ml) cold water
- 1 tbsp fine sea salt or kosher salt
- 1 tsp granulated sugar (optional, helps browning)
For the Chicken
- 2 boneless skinless chicken breasts (about 200 to 225g each)
- 1 tbsp olive oil or avocado oil
- 1 tsp garlic powder
- 1 tsp smoked paprika
- ½ tsp onion powder
- ½ tsp dried oregano or Italian seasoning
- ¼ tsp black pepper
- ¼ tsp salt (reduce if brining)
Equipment: Meat thermometer, meat mallet or rolling pin, zip-lock bag or shallow dish for brining, cast iron skillet or oven-safe pan, baking sheet (for oven method) Serves: 2
How to Make the Best Chicken Breast Recipe, Step by Step
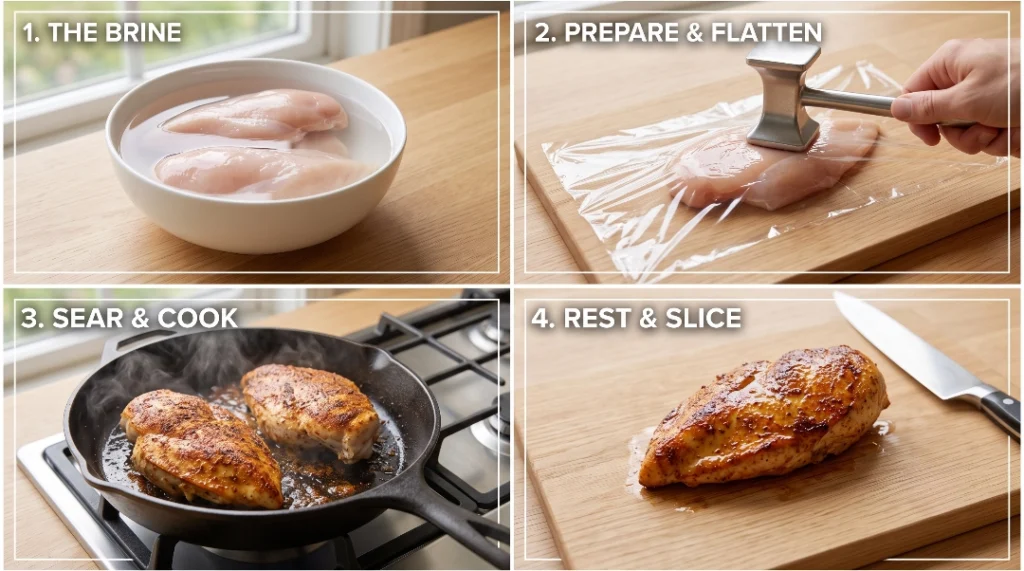
Quick Brine the Chicken
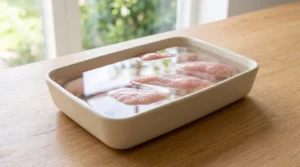
Dissolve Salt in Cold Water: In a shallow dish or zip-lock bag, dissolve the sea salt and sugar in the cold water by stirring for about 30 seconds. Add the chicken breasts and submerge them completely. Let them brine at room temperature for 15 to 30 minutes, or cover and refrigerate for up to 24 hours. Do not brine for longer than 24 hours or the texture of the meat begins to break down and turn mushy. When done, remove the chicken from the brine and pat completely dry with paper towels. Dry surfaces are essential for good browning.
Pound to Even Thickness
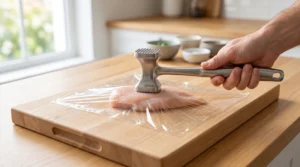
Make the Whole Breast the Same Depth: Place each chicken breast between two sheets of plastic wrap or inside a zip-lock bag. Using a meat mallet or the bottom of a heavy pan, pound the thicker end of the breast gently until the entire piece is a roughly even thickness of about three-quarters of an inch. This does not need to be perfect, but the thick end should no longer be dramatically thicker than the thin end. Even thickness means the whole breast finishes cooking at the same time with no part overcooked before the rest is ready.
Season the Chicken
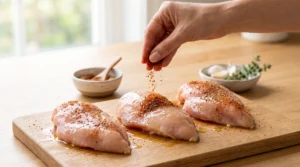
Coat Evenly on All Sides: Combine garlic powder, smoked paprika, onion powder, dried oregano, black pepper, and salt in a small bowl. Drizzle olive oil over the patted-dry chicken breasts, then sprinkle the seasoning blend evenly over all sides, pressing it gently to adhere. The oil helps the seasoning stick and promotes browning.
Choose Your Cooking Method
Method 1 – Skillet on the Stovetop (Best Browning)
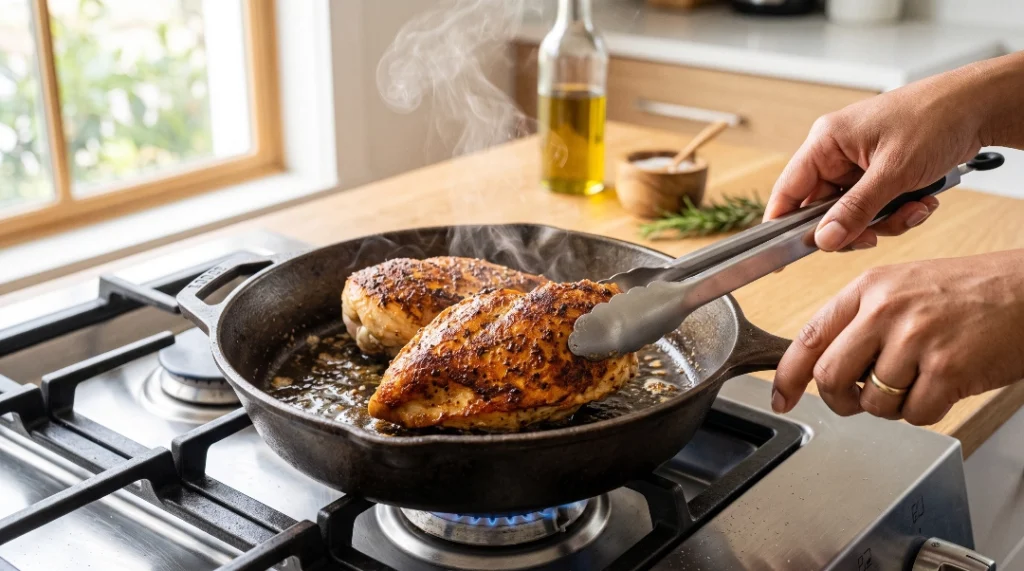
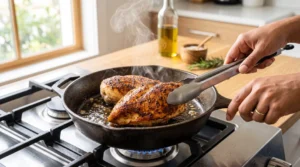
Sear First, Then Finish: Heat a cast iron skillet or heavy skillet over medium-high heat until a drop of water evaporates immediately on contact. Add a thin film of oil and place the seasoned chicken breasts smooth-side down. Cook undisturbed for 5 to 6 minutes until a deep golden crust forms on the bottom. Flip once and cook for another 4 to 5 minutes. Insert a meat thermometer into the thickest part. When it reads 160°F, remove from the skillet and rest for 5 minutes before slicing. The carryover heat will bring it to a safe 165°F during the rest.
Method 2 – Oven Baked (Hands-Off)
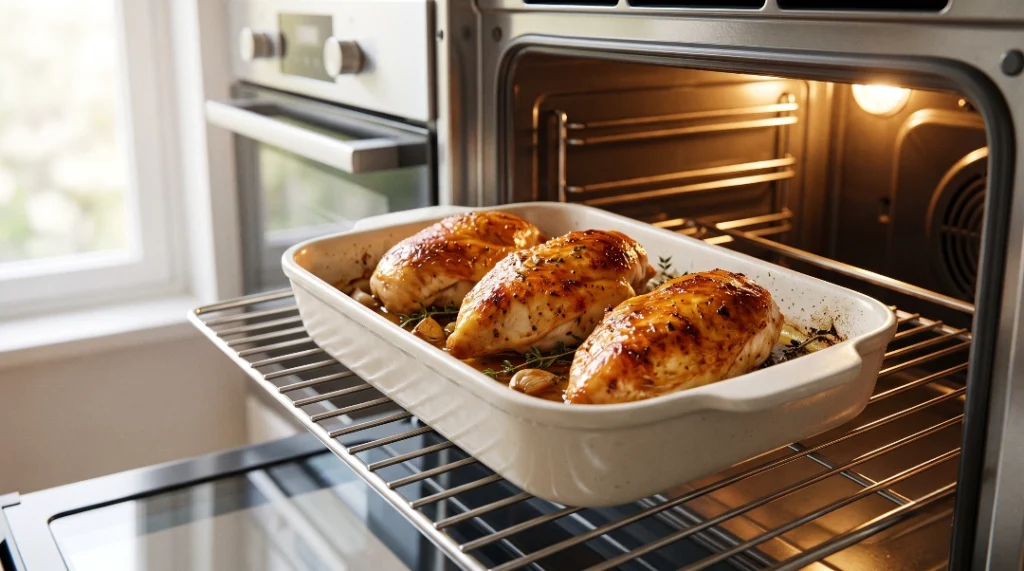
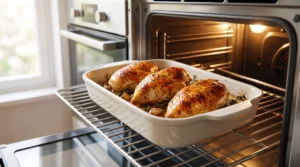
High Heat, Short Time: Preheat the oven to 425°F (220°C). Place the seasoned chicken breasts in a lightly oiled baking dish. Bake for 18 to 22 minutes depending on thickness. Start checking the temperature at the 18-minute mark. Pull from the oven at 160°F and rest for 5 minutes. Never cover the chicken with foil while baking since steam trapped under foil makes the exterior soft and prevents the seasoning from forming a proper crust.
Method 3 – Air Fryer (Fastest)
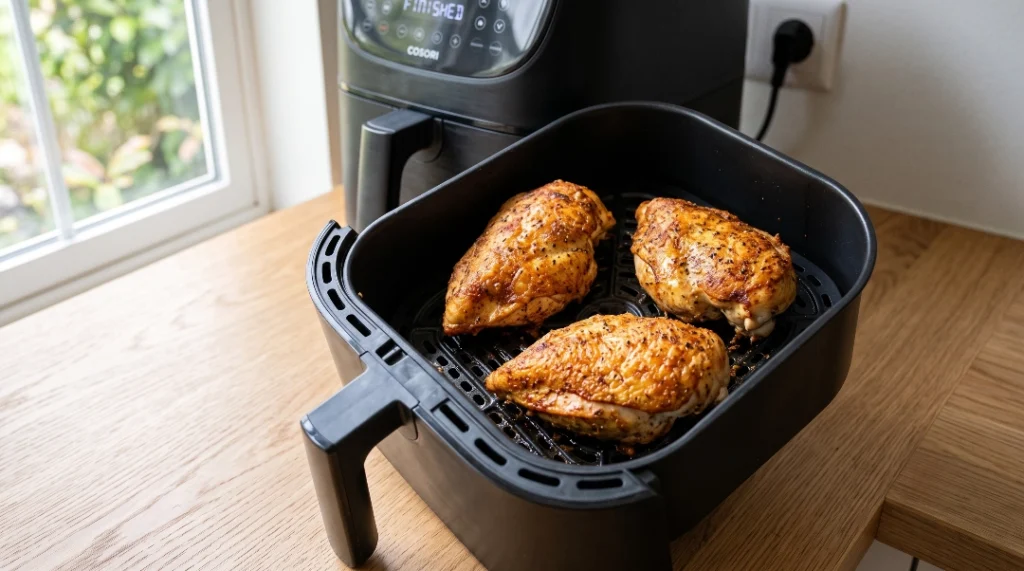
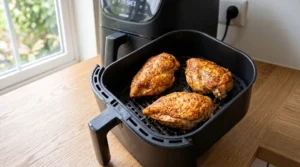
Preheat and Cook: Preheat the air fryer to 380°F (193°C). Lightly spray the basket with oil. Place the seasoned chicken breasts in a single layer with no overlapping. Cook for 10 minutes, flip, and cook for another 6 to 8 minutes until the thermometer reads 160°F. Rest for 5 minutes before slicing. The air fryer produces a noticeably crispier exterior than the oven method with less active attention required.
Rest and Slice
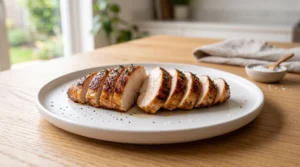
5 Minutes Before the Knife: Transfer the cooked chicken to a clean cutting board and let it rest untouched for a full 5 minutes. This resting period allows the muscle fibers that tightened during cooking to relax and the juice to redistribute evenly throughout the breast. Slice against the grain into pieces about half an inch thick for the most tender bite. Serving immediately after slicing produces the best result.
J.ZaiB’s Expert Touch
Brine even when you are short on time. Fifteen minutes of brining makes a bigger difference than any marinade or seasoning combination. If you genuinely have no time at all, at minimum season the chicken with salt 30 minutes before cooking and let it sit uncovered in the fridge. The salt will begin drawing into the meat even without the water and produce a noticeably juicier result than salting immediately before cooking.
Never cook cold chicken straight from the fridge. Cold chicken takes longer to cook through, which means the exterior overcooks before the cold center reaches safe temperature. Take the chicken out of the refrigerator 15 minutes before cooking and let it sit at room temperature. The cooking time will be shorter and the result more even.
A meat thermometer is the single best investment for chicken. Guessing by color or time produces inconsistent results because breast thickness varies enormously. A basic instant-read thermometer that costs under ten dollars removes all guesswork and ends the cycle of either dry overcooked chicken or undercooked pink chicken. Use it every single time.
Slice against the grain for the most tender result. Look at the surface of the sliced chicken and find the direction the muscle fibers are running. Cut perpendicular to those lines, not parallel. Cutting with the grain leaves long, intact muscle strands in every bite that require more chewing. Cutting against the grain shortens each strand dramatically and produces a noticeably more tender, easier to eat result from the exact same cooked chicken.
Make a double batch and use it all week. Well-cooked chicken breast stored correctly keeps its quality for 4 days and is one of the most versatile meal-prep proteins available. Use it sliced over our Taco Salad Recipe, diced inside our Chicken Crunch Wrap Recipe, or simply reheated with a different sauce each night for variety without extra cooking.
Variations to Try
Lemon Herb Chicken Breast: Add the zest of one lemon and 1 tablespoon of fresh lemon juice to the seasoning blend. Replace the smoked paprika with dried thyme. Squeeze extra lemon juice over the rested chicken just before slicing for a bright, fresh finish.
Honey Garlic Chicken Breast: Mix 2 tablespoons of honey, 2 minced garlic cloves, 1 tablespoon of soy sauce, and 1 tablespoon of olive oil. Use this as both a brine booster and a finishing glaze. Add the glaze in the last 3 minutes of cooking and watch it caramelize into a sticky, glossy coating.
Cajun Chicken Breast: Replace the seasoning blend with a Cajun spice mix using 1 teaspoon each of smoked paprika, garlic powder, and onion powder, plus half a teaspoon each of cayenne, dried thyme, and dried oregano. The smoky heat works particularly well with the skillet method where the spices can char slightly at the edges.
Italian Herb Chicken Breast: Season with Italian seasoning, garlic powder, and black pepper. After cooking and resting, top with jarred marinara sauce and shredded mozzarella cheese, then return to the oven for 3 to 4 minutes until the cheese melts. Serve over pasta or with crusty bread.
Meal Prep Plain Chicken Breast: Season with only salt, pepper, garlic powder, and a drizzle of olive oil. Cook using the oven method in a large batch of 4 to 6 breasts at once. Store cooled in meal prep containers. Plain seasoning keeps the flavor neutral enough to work in salads, wraps, rice bowls, and pasta dishes across the week without tasting repetitive.
Serving Ideas
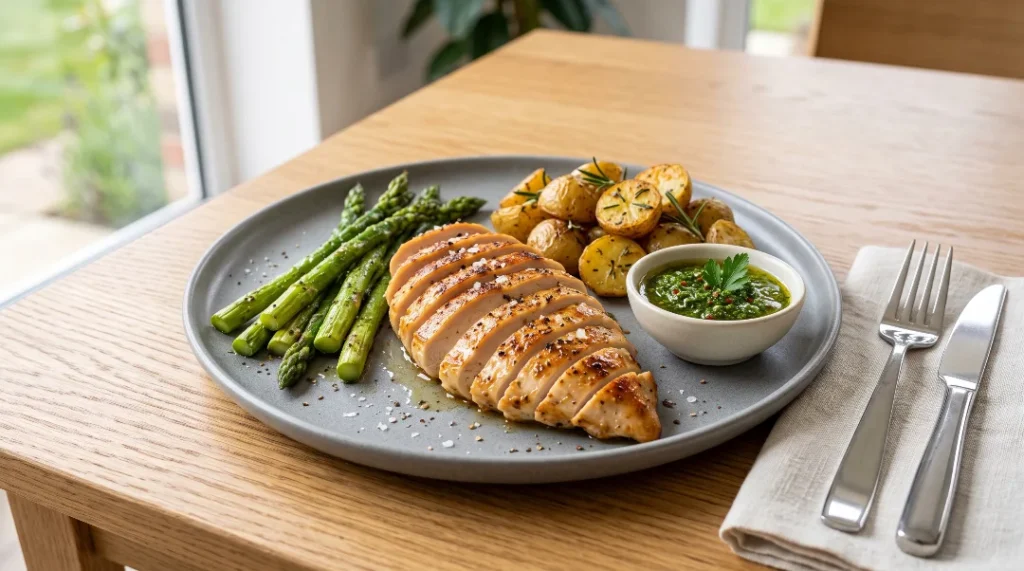
Weeknight dinner: Sliced chicken breast with roasted vegetables and a simple pan sauce made from the drippings, a splash of chicken broth, and a knob of butter. On the table in 30 minutes with almost no cleanup.
Meal prep bowl: Sliced chicken breast over white or brown rice with a drizzle of the honey garlic glaze variation, cucumber slices, and pickled red onion. A complete, balanced meal that takes under 5 minutes to assemble when the chicken is already cooked.
Tex-Mex night: Slice the Cajun variation thin and use it as the protein inside our Chicken Crunch Wrap Recipe or shredded over our Taco Salad Recipe. The same cooked chicken serves double duty across two completely different meals.
Family dinner: The Italian herb variation with melted mozzarella served over spaghetti is a crowd-pleasing dinner that feels more effort than it actually is, which is the best kind of weeknight recipe.
Storage and Reheating Guide
Refrigerator: Store cooled chicken breasts in an airtight container for up to 4 days. Keep them whole rather than sliced for longer storage, since sliced chicken loses moisture faster from the exposed cut surfaces.
Freezer: Wrap individual breasts tightly in plastic wrap and then place in a sealed freezer bag. Freeze for up to 3 months. Thaw overnight in the refrigerator rather than at room temperature.
Reheating without drying out: Place the chicken in a baking dish with 2 tablespoons of chicken broth or water. Cover tightly with foil. Warm in a 300°F oven for 10 to 12 minutes until just heated through. The trapped steam prevents the chicken from drying out during reheating. Never microwave chicken breast uncovered since it dries the exterior dramatically before the center warms.
Meal prep timing: Cook on Sunday, refrigerate, and use through Thursday. By day four the texture is still good if stored correctly. After four days the quality begins to decline noticeably.
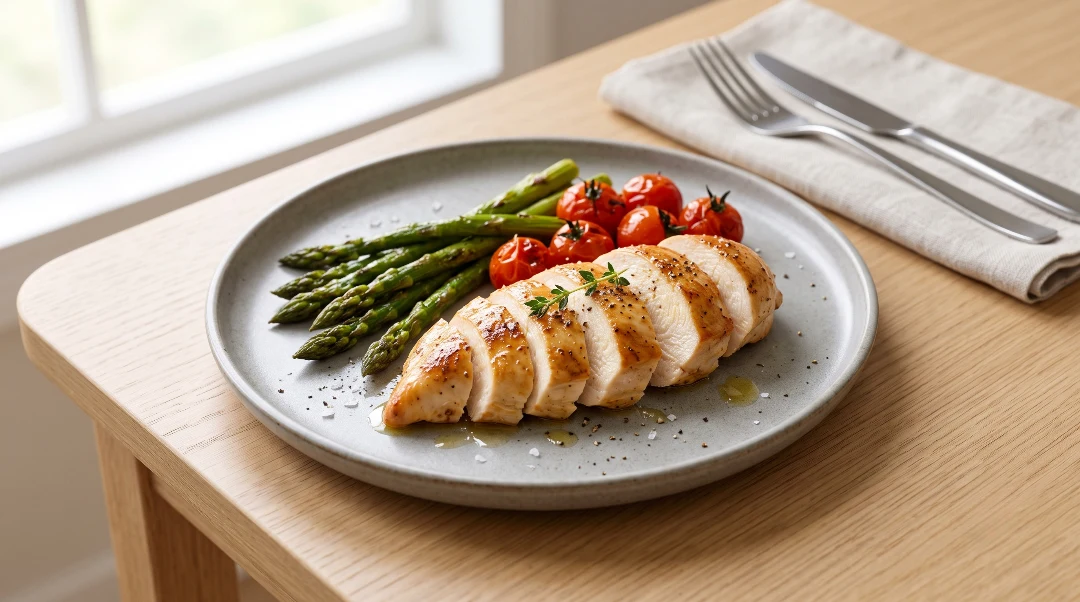
Best Chicken Breast Recipe
Ingredients
Equipment
Method
- Salt Water Soak for Juiciness: In a shallow dish or zip-lock bag, stir the sea salt and sugar into the cold water until dissolved. Add the chicken breasts and submerge completely. Brine at room temperature for 15 to 30 minutes, or cover and refrigerate for up to 24 hours. Do not exceed 24 hours or the texture begins to break down. When done, remove the chicken and pat it completely dry with paper towels. Dry surfaces are essential for a good golden sear.

- One Thickness, Even Cooking: Place each chicken breast between two sheets of plastic wrap. Using a meat mallet or the bottom of a heavy pan, gently pound the thicker end until the entire breast is roughly three-quarters of an inch thick throughout. This step ensures the whole breast reaches safe temperature at the same time with no part overcooked before the rest is ready.
- Coat All Sides: Mix garlic powder, smoked paprika, onion powder, dried oregano, black pepper, and salt in a small bowl. Drizzle oil over the dry chicken breasts, then sprinkle the seasoning blend evenly over all sides, pressing gently to adhere.
- Skillet Method: Heat a cast iron skillet over medium-high heat until very hot. Add a thin film of oil. Place the chicken smooth-side down and cook undisturbed for 5 to 6 minutes until a deep golden crust forms. Flip once and cook another 4 to 5 minutes. Pull from heat when the thermometer reads 160°F.
- Oven Method: Preheat oven to 425°F (220°C). Place chicken in a lightly oiled baking dish. Bake for 18 to 22 minutes. Start checking temperature at 18 minutes. Pull from oven at 160°F.
- Air Fryer Method: Preheat air fryer to 380°F (193°C). Lightly spray basket with oil. Cook chicken for 10 minutes, flip, then cook 6 to 8 more minutes until the thermometer reads 160°F.
- 5 Minutes Makes the Difference: Transfer to a cutting board and rest untouched for 5 full minutes. The carryover heat will bring the temperature to a safe 165°F while the muscle fibers relax and the juice redistributes throughout the breast. Slice against the grain into half-inch pieces and serve immediately.
Notes
- Brine even for just 15 minutes. The improvement in juiciness from even a short brine is bigger than any seasoning or technique change. Do not skip it.
- Pat completely dry after brining. Wet surfaces steam rather than sear, preventing the golden crust from forming.
- Pull at 160°F, not 165°F. Resting for 5 minutes raises the internal temperature to a safe 165°F through carryover cooking while keeping the meat juicier. Always verify with a thermometer.
- Never cut into chicken before resting. Cutting immediately releases the juice that migrated to the center during cooking. Rest for 5 minutes first.
- Pound to even thickness. Thick ends overcook before thin ends reach safe temperature in an unpounded breast. Even thickness equals even cooking.
- Slice against the grain. Look for the direction muscle fibers run and cut perpendicular to those lines for the most tender bite.
- Do not cover with foil in the oven. Trapped steam prevents browning and makes the seasoning soft and unappetizing.
- Reheating: Place in a baking dish with 2 tablespoons of broth, cover with foil, warm at 300°F for 10 to 12 minutes. Never microwave uncovered.
- Storage: Refrigerate up to 4 days in an airtight container. Freeze up to 3 months wrapped tightly.
- UK/Australia notes: “Skillet” equals frying pan. “Kosher salt” equals coarse sea salt. “Instant-read thermometer” equals digital probe thermometer.
- Nutrition values are estimates. Actual values vary based on exact breast size and oil quantity used.
NUTRITION
Per 1 chicken breast, with seasoning and oil
| Nutrient | Amount |
|---|---|
| Calories | ~230 kcal |
| Total Fat | 8g |
| Saturated Fat | 1.5g |
| Cholesterol | 95mg |
| Sodium | 480mg |
| Total Carbs | 2g |
| Sugars | 0g |
| Fiber | 0g |
| Protein | 38g |
Note: Values are estimates and vary based on exact breast weight and oil quantity.
Frequently Asked Questions
Why is my chicken breast always dry no matter what I do?
Almost always one of three causes. The chicken was not brined before cooking, leaving no extra moisture reserve inside the muscle fibers. It was cooked to above 165°F rather than pulled at 160°F and rested, losing more moisture than necessary. Or it was cut into immediately after cooking rather than rested for 5 minutes, releasing all the centralized juice onto the cutting board before serving. Fix all three and dry chicken breast becomes a thing of the past.
Do I really need to brine chicken breast?
You do not have to, but the improvement is significant enough that it is worth the 15 minutes every time. Even a short brine makes a noticeable difference in juiciness compared to seasoning and cooking immediately. If you genuinely cannot spare 15 minutes, salt the chicken 30 minutes ahead and let it sit uncovered in the fridge. This dry salting produces some of the same effect with zero extra liquid.
What temperature should chicken breast reach before eating?
The FDA recommends 165°F as the safe minimum internal temperature for chicken. Pulling from heat at 160°F and resting for 5 minutes achieves this through carryover cooking while retaining slightly more moisture. Always verify with a meat thermometer rather than relying on color or timing alone.
Can I cook chicken breast from frozen?
You can, but the results are less reliable. Frozen chicken takes significantly longer to cook and is more prone to the exterior overcooking before the frozen center thaws and reaches safe temperature. If you must cook from frozen, use the oven at 350°F and add 50 percent to the cooking time. Check temperature carefully with a thermometer.
How long should I rest chicken breast after cooking?
A minimum of 5 minutes for a standard 200-gram breast. Larger breasts benefit from up to 8 minutes of rest. The rest period allows the muscle fibers to relax and the juice that migrated to the center during cooking to redistribute back throughout the meat. Cutting in before this redistribution is complete sends that juice onto the cutting board rather than into the bite.
Should I pound or butterfly very thick chicken breasts?
For very thick breasts, the butterfly technique is often better than pounding alone. Pounding a very thick piece can tear the delicate muscle fibers and ruin the texture. Butterflying, cutting the breast horizontally through the middle to create two thinner cutlets, instantly halves the thickness and doubles the surface area for browning. This produces faster, more even cooking without damaging the meat.
Is it better to bake or pan-sear chicken breast?
Both methods work well with different advantages. Pan-searing produces a deeper, more flavorful golden crust through the Maillard reaction from direct contact with the hot skillet surface. Oven baking is more hands-off and easier for larger batches. The air fryer combines some of the crust quality of skillet cooking with the convenience of oven baking. All three are covered in this recipe with specific guidance for each.
The Chicken That Finally Stays Juicy
A great Chicken Breast Recipe does not require special equipment, rare ingredients, or advanced technique. It requires three habits: brine before cooking, use a thermometer instead of guessing, and rest before slicing.
Those three habits are the entire difference between the dry, rubbery Sunday meal-prep chicken that makes healthy eating feel like a punishment, and the genuinely juicy, flavorful chicken breast that you actually look forward to eating across the week.
Brine for 15 minutes. Cook hot and fast. Rest for 5. Slice against the grain.
Everything else is details.
Tag us on Instagram @viralfoodhacks706 when yours comes out of the pan. The golden seared exterior shot always looks incredible! Save this to Pinterest so the method is always ready for the next meal prep Sunday.