
My quest for the perfect homemade cherry pie wasn’t just about baking; it was a journey to capture a feeling. It started with a basket of ruby-red sour cherries from a local farmer’s market and led to countless experiments in my kitchen. There were runny fillings and less-than-flaky crusts, but every mistake taught me a lesson. Here at Viral Food Hacks, we believe that the best recipes are born from these very experiences.
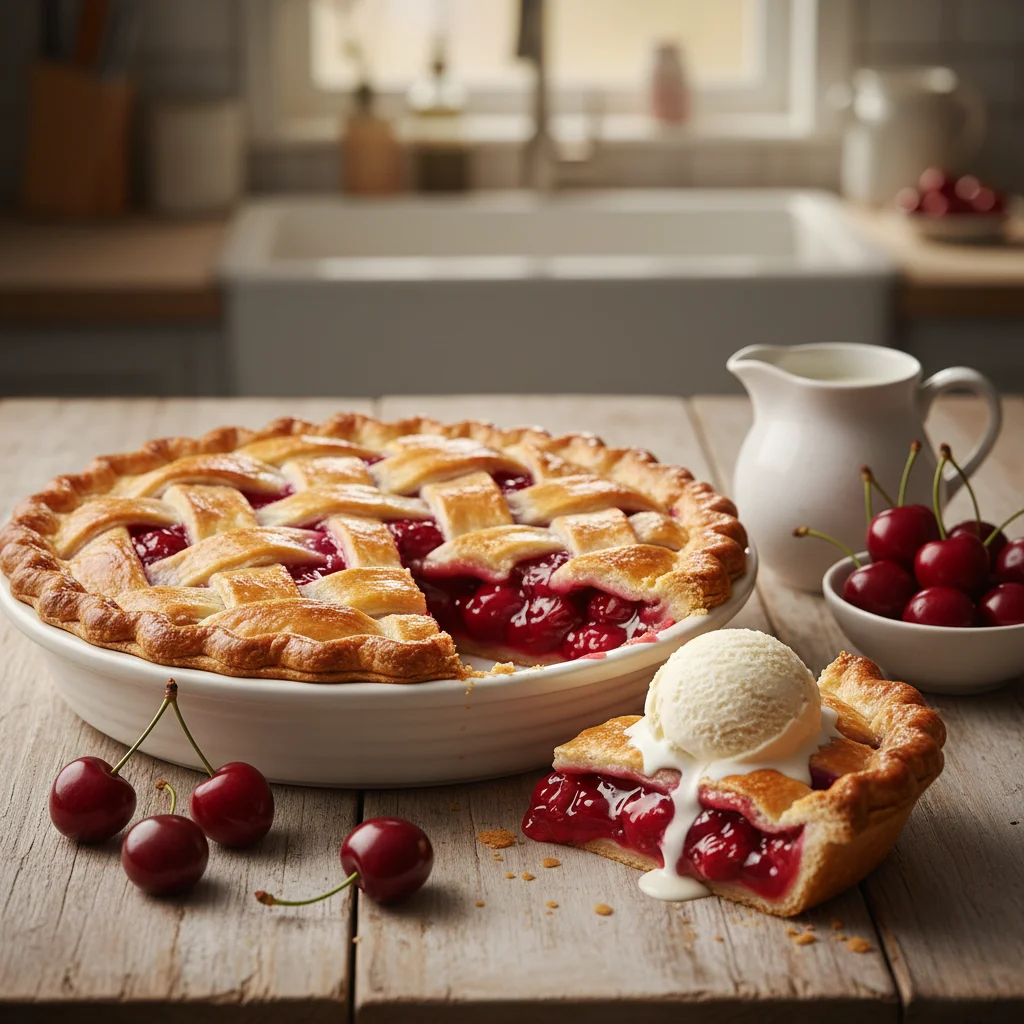
This easy cherry pie recipe is the delicious result of that journey. It’s the one that finally delivered a filling that’s perfectly sweet and tart, and a crust that shatters with every bite. This is more than just a recipe; it’s a foolproof guide to creating a classic cherry pie that tastes like a cherished memory, and I’m so excited to share it with you.
Why You’ll Love This Cherry Pie Recipe
That long journey to find the perfect pie was worth it. This cherry pie recipe isn’t just a set of instructions; it’s a collection of solutions to common pie problems. Here’s why it will become your favorite:
A Filling That Actually Sets
- Through all the experiments, I found the perfect balance of sweet and tart that sets up beautifully every time. You can finally say goodbye to runny fillings and soggy bottoms.
A Truly Foolproof Flaky Crust
- I believe a great pie starts with the crust. This simple, all-butter recipe delivers that bakery-quality texture, and I’ll show you how easy it is, even for beginners.
Stress Free Baking (Make Ahead Friendly)
- Part of the journey was learning how to make baking enjoyable, not stressful. You can prepare both the crust and filling in advance, making your holiday baking a joy.
A Beautiful Pie, Every Time
- We’ll walk through the simple steps to a beautiful lattice top, ensuring your pie looks as amazing as it tastes the perfect end to your own baking story.
Ingredients You’ll Need
Every great story needs a strong cast of characters, and for this homemade cherry pie, our characters are simple, high-quality ingredients. There are no fancy, hard-to-find items here just pure, delicious goodness. Here’s what you’ll need to bring this pie to life.
For the Flaky Pie Crust (The Foundation)
- All-Purpose Flour: The reliable backbone of our tender crust. If you want to master the technique, check out our detailed guide on How to Make the Perfect Pie Crust.
- Unsalted Butter: It must be very cold and cubed.
- Granulated Sugar & Salt: For flavor.
- Ice Water: To bring the dough together.
For the Cherry Pie Filling (The Heart)
- Cherries: I found that sour cherries are the hero of this story. Food & Wine magazine, their tartness provides the perfect balance to the sugar in baked goods.
- Granulated Sugar: To sweeten the filling just enough.
- Cornstarch: The unsung hero that thickens our filling.
- Lemon Juice & Almond Extract (Optional): To brighten and deepen the flavor.
How to Make Cherry Pie From Scratch (Step-by-Step)
Now for the fun part: the journey itself. Think of this not as a set of rules, but as a friendly guide walking you through the story of creating something truly special.
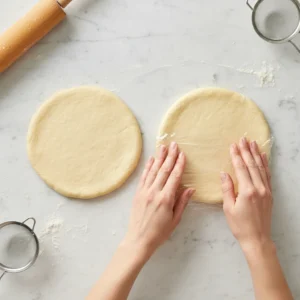
Prepare the Pie Crust (The Foundation of Our Masterpiece)
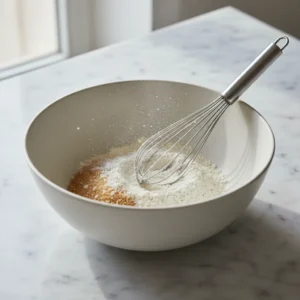
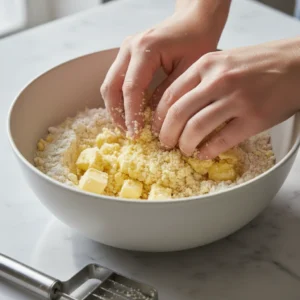
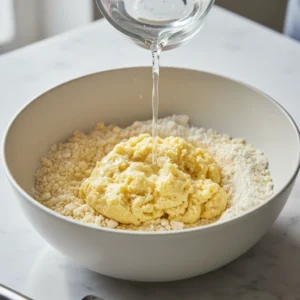
This is where the magic begins. For years, I was intimidated by pie crust, but I learned the secret isn’t muscle; it’s temperature. We start by combining our flour, sugar, and salt. Then, we cut in the ice-cold butter until the mixture looks like coarse crumbs. Gently, we add a few tablespoons of ice water until the dough just comes together don’t overwork it! We then divide it into two discs, wrap them up, and let them rest in the fridge. This little nap is crucial for a tender crust.
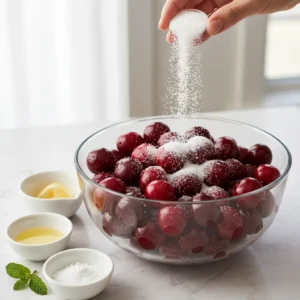
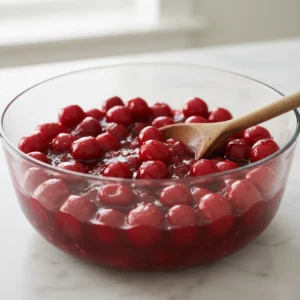
Make the Cherry Pie Filling (Capturing the Flavor)
Now for the heart of our cherry pie recipe: the filling. This step is beautifully simple. In a large bowl, we gently toss our beautiful cherries with the sugar, cornstarch, a splash of lemon juice, and that optional drop of almond extract. Let this mixture sit for about 15 minutes. You’ll see the cherries start to release their gorgeous, ruby-red juices, creating a natural syrup. This is the flavor we want to capture.
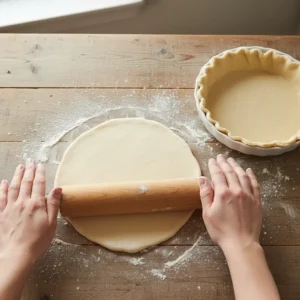
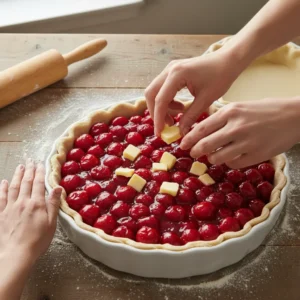
Assemble and Bake the Pie (Bringing It All Together)
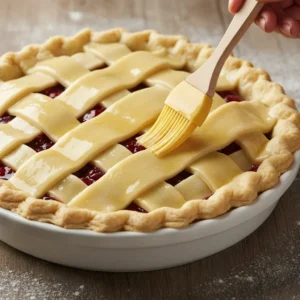
This is where our characters come together on stage. We’ll roll out one of our chilled dough discs and gently place it in the pie dish. Then, we pour in that glorious cherry filling. Next comes the beautiful lattice top, which is easier than it looks—think of it as simply weaving a delicious blanket for our filling. Finally, we brush it with an egg wash for a golden shine and send it into the hot oven. Bake until the crust is a deep golden brown and the filling is bubbling happily through the lattice.
Top Cherry Pie Tips for a Perfect Bake
On my journey to the perfect pie, I learned a few lessons the hard way. I’m sharing them with you so your journey can be even easier.
- ip 1: Prevent a Soggy Bottom: This was my biggest fear for a long time! The simple trick I learned is to place your pie dish on a preheated baking sheet. This helps the bottom crust cook quickly and get beautifully crisp.
- Tip 2: The Secret to a Flaky Crust: I’ll say it again because it’s the most important rule: your butter and water must be ice cold. This creates tiny pockets of steam in the oven, which is what gives you those delicious, flaky layers
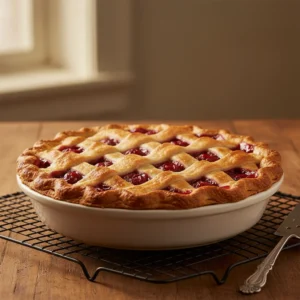
- Tip 3: Getting a Clean Slice: This requires patience, but it’s worth it. You must let the pie cool completely for at least 4 hours before slicing. This allows the filling to fully set, so you get a perfect, clean slice every time.
- Tip 4: The Perfect Golden Color: For that professional, bakery-quality shine, always brush your top crust with a simple egg wash (one egg beaten with a splash of milk) before baking
Cherry Pie Variations
Once you’ve mastered this classic, you can start writing your own story! Here are a few ideas
No-Bake Cherry Pie:
- In a hurry? Use a pre-made graham cracker crust and a can of quality cherry pie filling for a delicious dessert that’s ready in minutes.
Mini Cherry Pies:
- Use a muffin tin to create adorable, individual-sized cherry pies. They’re perfect for parties and bake much faster.
Dietary Variations (Vegan / Gluten-Free):
- You can easily adapt this recipe. For a vegan version, use a high-quality plant-based butter. For a gluten-free version, use your favorite all-purpose gluten-free flour blend.
Classic Homemade Cherry Pie Recipe (Easy & Perfect for Beginners)
Ingredients
Equipment
Method
- In a large bowl, whisk together the flour, sugar, and salt.

- Add the cold, cubed butter. Using your fingertips or a pastry cutter, cut the butter into the flour until the mixture resembles coarse crumbs with some pea-sized pieces of butter still visible.
- Add the ice water, one tablespoon at a time, mixing gently until the dough just starts to come together. Do not overmix.
- Divide the dough in half, form each half into a disc, wrap in plastic, and refrigerate for at least 1 hour.
- In a large bowl, combine the cherries, sugar, cornstarch, lemon juice, almond extract, and salt.
- Toss gently to combine. Let the mixture sit for 15 minutes.
- Preheat oven to 400°F (200°C).
- On a floured surface, roll out one disc of dough and place it in the bottom of a 9-inch pie dish.
- Pour the cherry filling into the crust and dot the top with the small pieces of butter.
- Roll out the second disc of dough and cut it into 1-inch strips. Weave the strips over the filling to create a lattice top.
- Trim the excess dough and crimp the edges to seal.
- Whisk the egg and milk together to create an egg wash. Brush it over the lattice crust.
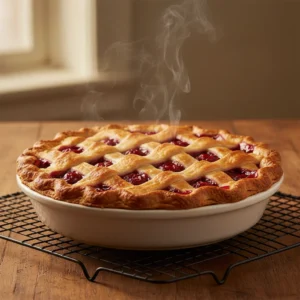
- Bake for 20 minutes, then reduce the oven temperature to 375°F (190°C). Continue baking for another 35-45 minutes, or until the crust is deep golden brown and the filling is thick and bubbly.
- Let the pie cool on a wire rack for at least 4 hours before slicing. This is crucial for the filling to set.

Notes
- Cold Ingredients: For the flakiest crust, make sure your butter and water are as cold as possible.
-
Soggy Bottom Prevention: Place your pie dish on a preheated baking sheet in the oven to help the bottom crust cook through and stay crisp.
- Cooling is Key: Do not slice the pie while it is still warm, or the filling will be runny. It needs to cool completely to set.
Cherry Pie FAQs
I had so many questions when I started. Here are answers to a few common ones:
1. Can I use canned cherries instead of fresh ones
- es, you can! Use 2 cans (21 oz each) of cherry pie filling. Reduce the sugar in the recipe by half since canned cherries are already sweetened
2. How do I prevent the bottom crust from getting soggy?
- Brush the bottom crust with beaten egg white before adding the filling. This creates a protective layer that keeps it crispy!
3. Can I make the pie ahead of time?
- Absolutely! You can assemble the pie and freeze it before baking. When ready, bake from frozen, adding 15-20 extra minutes.
4. Why did my filling come out runny?
- This usually happens if the filling didn’t cool completely before slicing. Let the pie cool for at least 4 hours so the filling can set properly.
5. How do I create a lattice top?
- It’s easier than you think! Cut the dough into strips and weave them over the filling. We have step-by-step photos in our main recipe guide.
6. Can I make this pie gluten-free?
- Yes! Substitute the all-purpose flour with your favorite gluten-free flour blend. The results are just as delicious!
Conclusion
Looking back at that journey that started at a farmer’s market, I realize that the perfect homemade cherry pie isn’t just about the final product. It’s about the joy of creating something beautiful with your own hands. From a simple Apple Pie to a hearty Chicken Pot Pie, every recipe tells a story.
I hope this guide has inspired you and given you the confidence to start your own baking story. Which pie will you bake first? I’d love to hear about it in the comments below! You can also share your masterpiece with us on @ViralFoodHacks.